
As my summer vacation draws closer and closer to an end, I decided last weekend that I wanted to take advantage of what little time I have left by doing a few things now that I won't have time to do during the school year.
One of said things is practicing with my Grandma cooking a few of her recipes. My grandma is a native of Okinawa, Japan and happens to be an amazing cook. Not only will I need to literally practice cooking the food, but I will also need lessons in how to find and purchase the ingredients (being able to read Japanese would make this part much easier)! My wonderful cousin decided to begin this process several years ago by creating a recipe book that included pictures of the cooking steps, as well as the ingredients. My grandma has so many delicious recipes that my cousin is still adding to the book to this day!
I figured, if I'm going to be learning these recipes for grandma, I might as well document it so I can enjoy these recipes for years to come and share them with my friends!
The first recipe (of this series - hopefully) that I will post is the sushi recipe that my grandma uses to make futomaki. She explained to me that she considers this a traditional Japanese sushi recipe and as a result, only makes this type of sushi. I did a little searching around the internet, based on the ingredients that she uses, and found this article on JustHungry.com: "Ehoumaki (ehou maki): Lucky long sushi roll for Setsubun no hi."
This article talks about "Setsubun no hi" (Wikipedia Article) and the rules that apply to eating a futomaki on this particular day. Seeing as my grandmother is very superstitious, I was very surprised that she had no clue what I was talking when I mentioned the idea that the rolls she makes are very similar to ehou maki (the name of the rolls used to celebrate Setsubun no hi).
Regardless, on to the Asian Store we went.
Here are the ingredients that we purchased for the sushi:
(If you have any problems finding these items, don't be afraid to ask for help in finding them! It's usually good to bring the pictures of the items with you to the store)

A sushi mat (mine cost about $1.50)

Good Japanese rice
(this is my grandma's favorite brand)

Rice vinegar is used to prepare the rice for some sushi-making!

This is "Dashi No Moto", aka soup base.
It can also be used for making miso soup...just beware of the MSG!

This isn't the same brand of sushi nori (seaweed) that we bought, but as long as it looks similar to this and says "sushi" somewhere on the package, you should be fine.

↑ This is what you want your nori to look like ↑

That is the exact bag of dried shiitake mushrooms that we purchased. My grandma says that dried shiitake mushrooms (you have to soak them in water before you cook with them) are much more flavorful than fresh ones.

Kanpyo aka unseasoned (should be white) dried shavings of a particular gourd.

Ginger root OR ginger in a tube (which is what I use)↓


Sake
(doesn't have to be the same brand pictured above)

White fish cake.
This is usually in the freezer section at Asian grocery stores. It also comes in a yellow version (I think it's fried or something), but make sure you grab the white one.

Soy sauce
There is a low-sodium version that has a green top, but it's not as tasty!

3 eggs for your usuyaki tamago
(flat and wide cooked egg that you can cut into long strips for the sushi rolls)

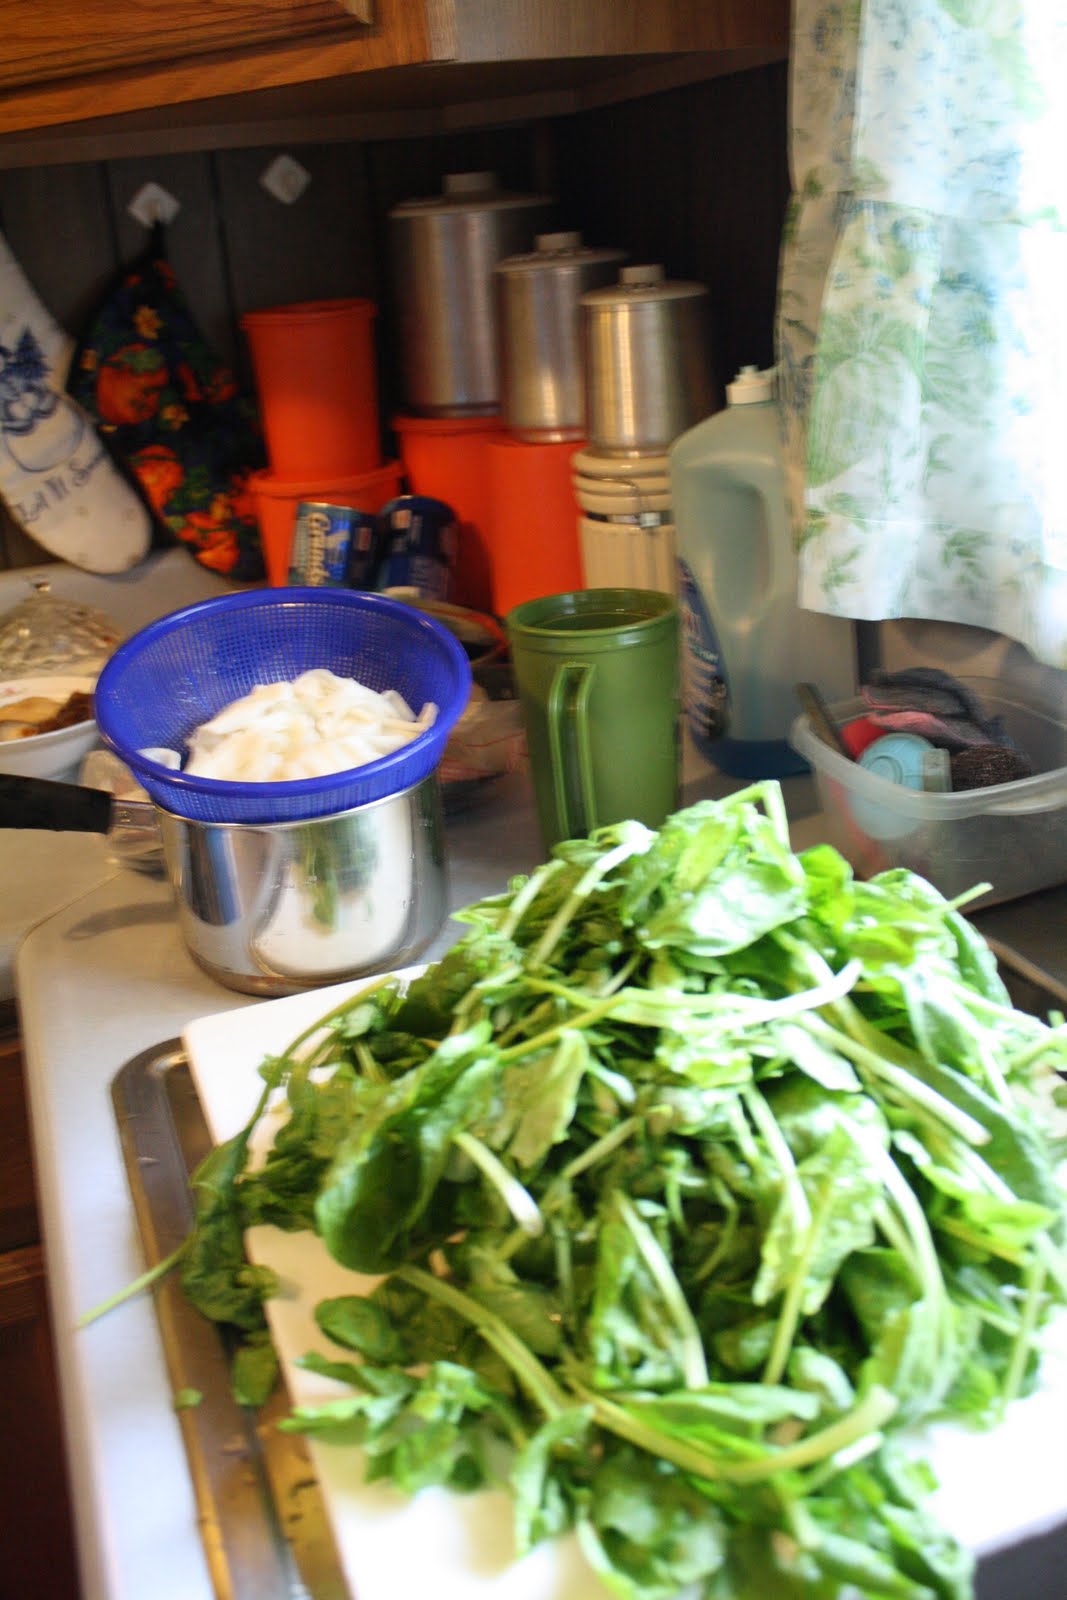
She grabbed a bunch of fresh baby spinach leaves and turned her nose up when I suggested buying prewashed baby spinach in a bag.
Honestly, the most time-consuming part of making sushi is the prep-work and here we go!
Step 1:
First prepare your rice using these instructions: sushi rice instructions
These instructions tell you how to properly wash the rice before cooking it and what to do after you cook it (the sushi rice section). Be sure to read this whole section before attempting to make your rice, because you'll need to combine the sushi rice instructions with the regular rice instructions.
You will need: rice, sushi vinegar and dashi no moto for this part.
Notes:
3 cups of rice usually makes 4-5 sushi rolls, depending on how much rice you use in each.
Use 1 to 1-1/2 tablespoons of dashi stock granules per 3-1/4 cups of water.
Once the rice is finished cooking, add 1/3 cup of rice vinegar, while it's still hot (my grandma used a small coffee cup to measure her vinegar out. I guess that's her quick and easy short cut).

Step 2
You will need: dried shiitake mushrooms and kanpyo
Soak your dried shiitake mushroom in enough water for about 10 minutes (or until soft).
Boil your kanpyo in water for about 10-15 minutes (until soft), remove from pot, put into a colander and run cold water over.
Set aside.


↑ Before ↑

↑ After ↑
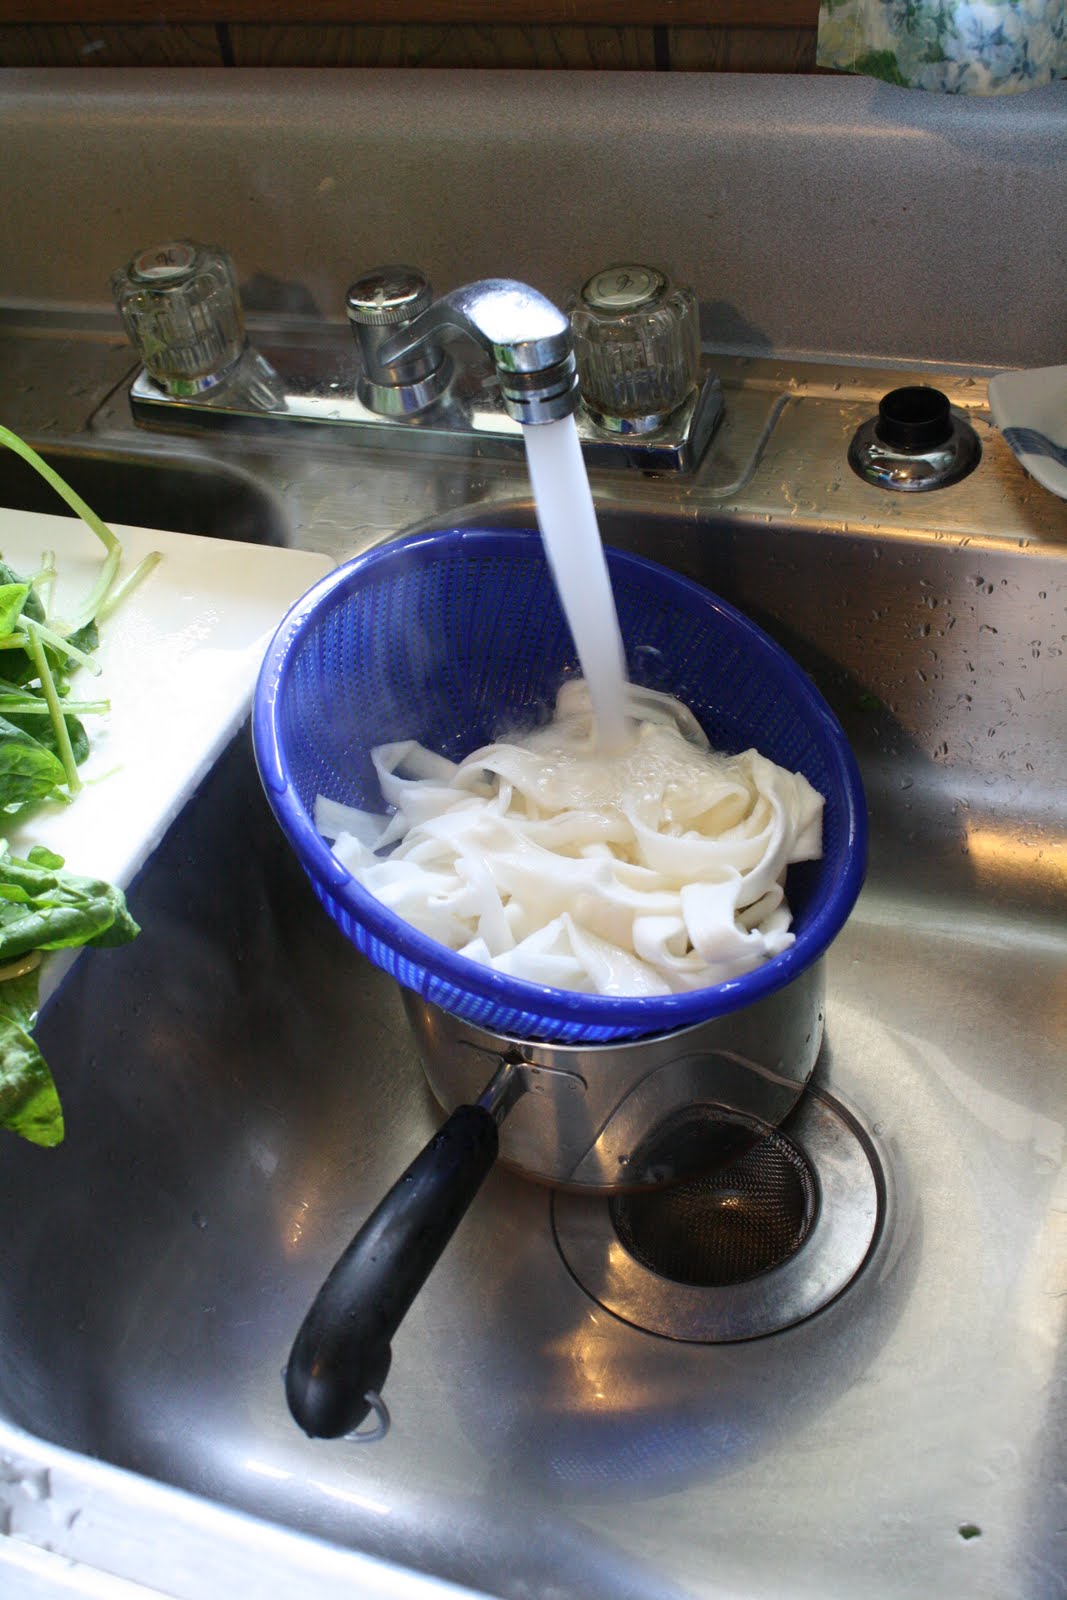
You don't need to drain it over a pot, it was just sort of in the way for my grandma so she sat it on top, lol.
Step 3
You will need: baby spinach
Next you want to boil your baby spinach (do NOT chop it up), drain it and squeeze out the excess water. You want to pull apart your pieces of baby spinach and separate them into piles that are about as long as your nori sheets.
Set aside.

↑ Do NOT chop up your spinach!


Squeeze out the excess water.


↑ The pieces are about as long as our nori sheets
(which will be the length of our sushi rolls)
(which will be the length of our sushi rolls)
Step 4
You will need: dashi no moto, fish cake, ginger, kanpyo, sake, shiitake mushrooms, soy sauce
Once everything is sliced, place your kanpyo, fish cake and shiitake mushrooms into a small pot with:
1 tsp freshly ground ginger (or ginger from the tube)
3 tsp sugar
1 tsp dashi no moto
2 tsp sake
1/4 cup soy sauce
Bring to a boil and then simmer for 5-10 minutes. After it's finished simmering, remove from heat and cool.

Slice along the longer side
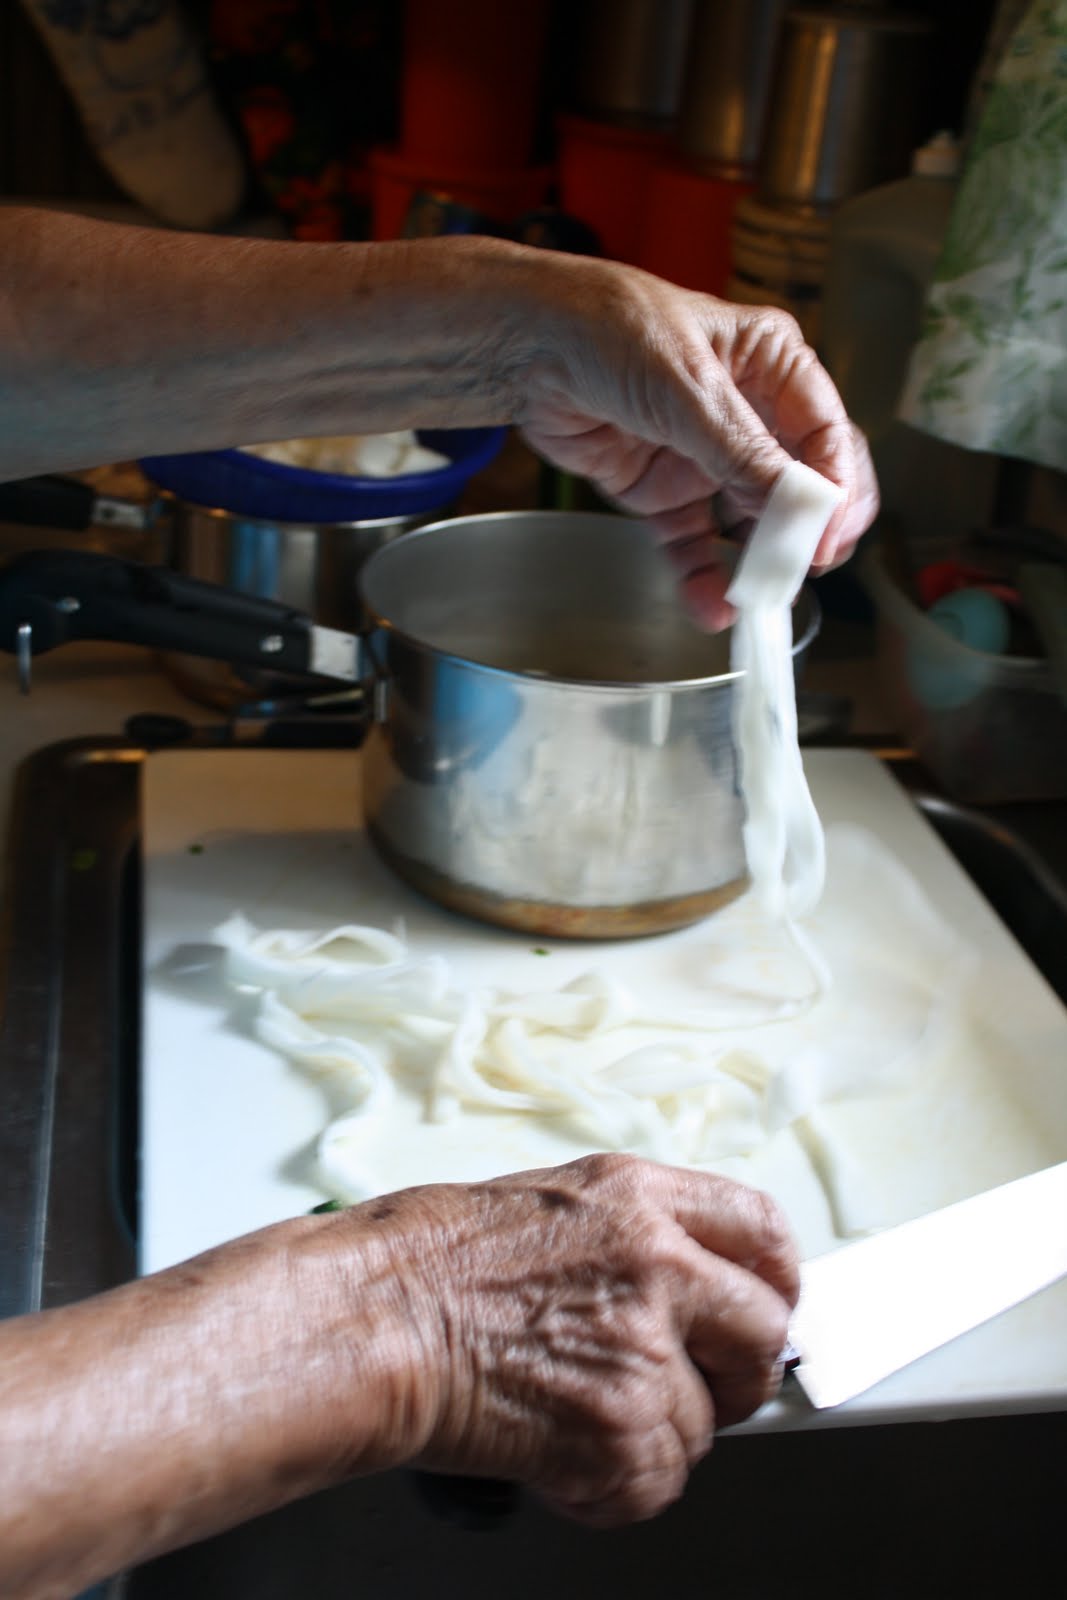
Slice your kanpyo to about the same length as the nori sheets


My grandma uses fresh ginger and this is how she grates it.


Adding the sugar
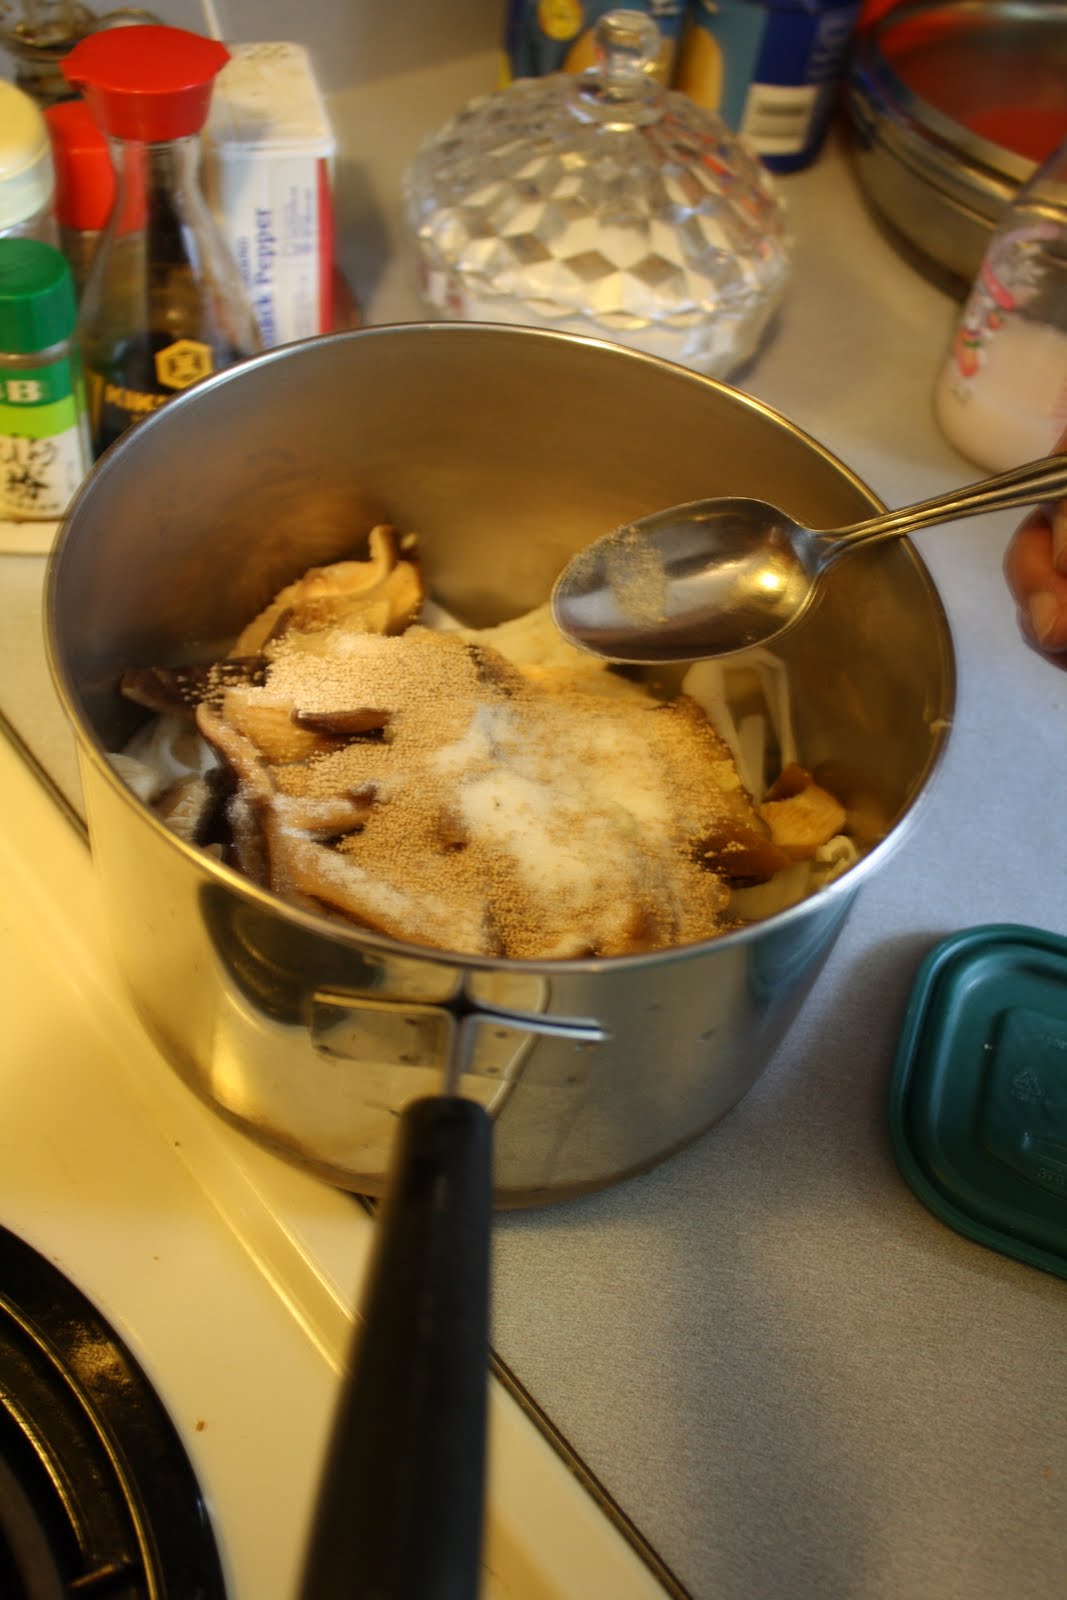
Adding the dashi granules

She has the burner on medium-high, in order to bring it to a boil.

Once it's finished cooking, this is how it will look.
Step 5
You will need: 3 eggs and 1 tbsp butter
Now you'll make your usuyaki tamago. First warm up your pan and add your butter.
Next, stir your 3 eggs in a bowl and add them to a large and flat frying pan on medium heat. Be sure to not disturb the eggs while they are cooking (don't stir).
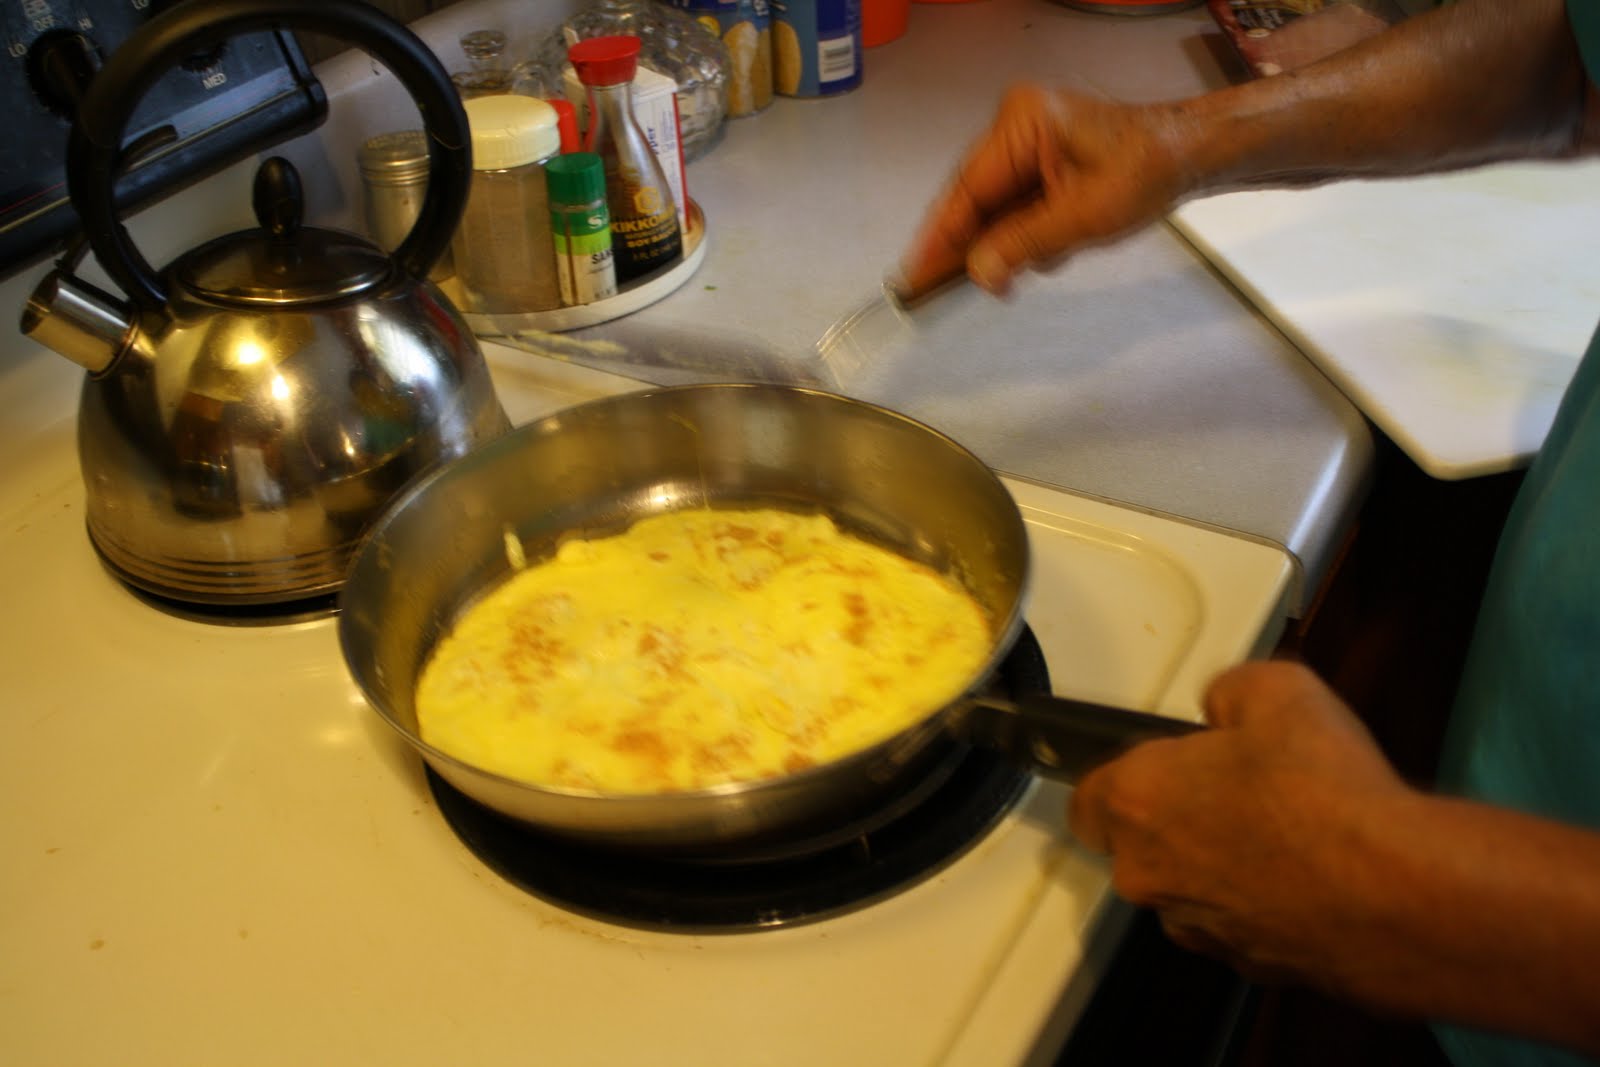
Allow the eggs to cook on one side for a couple minutes before flipping to the other side and cooking for another couple minutes (until done).
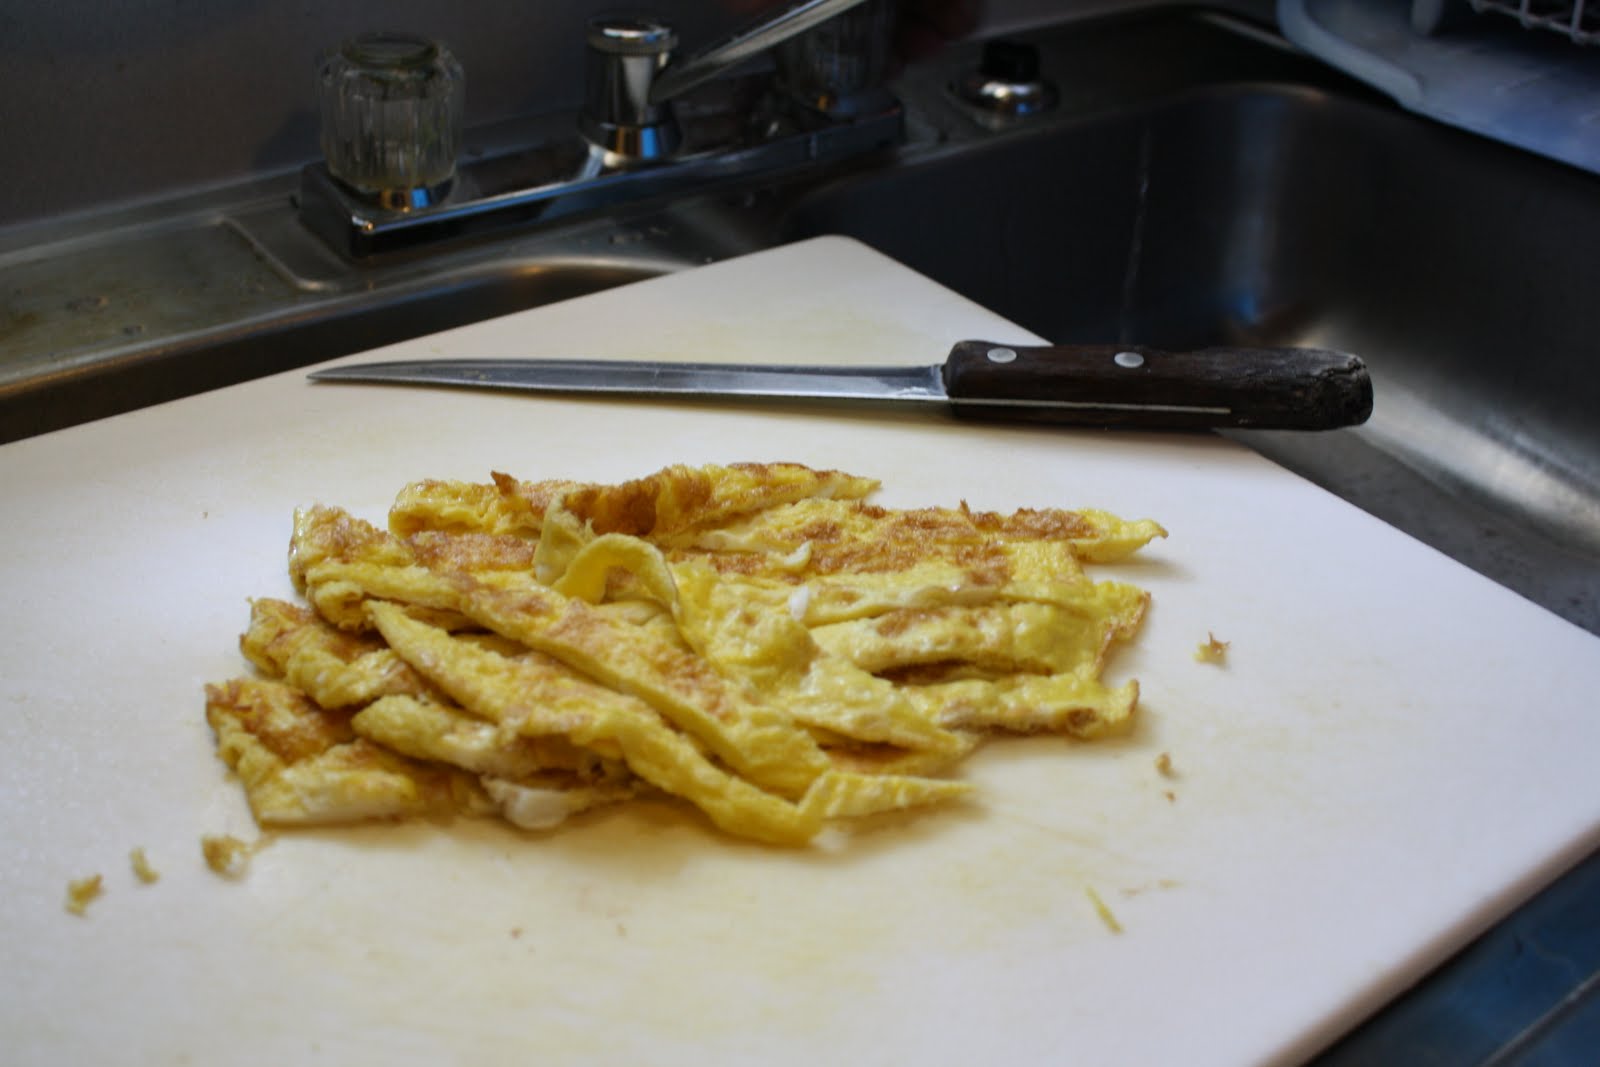
After your large omelette is finished cooking, flip it onto a cutting board and slice it into long pieces (be careful, it will be hot) and set aside.


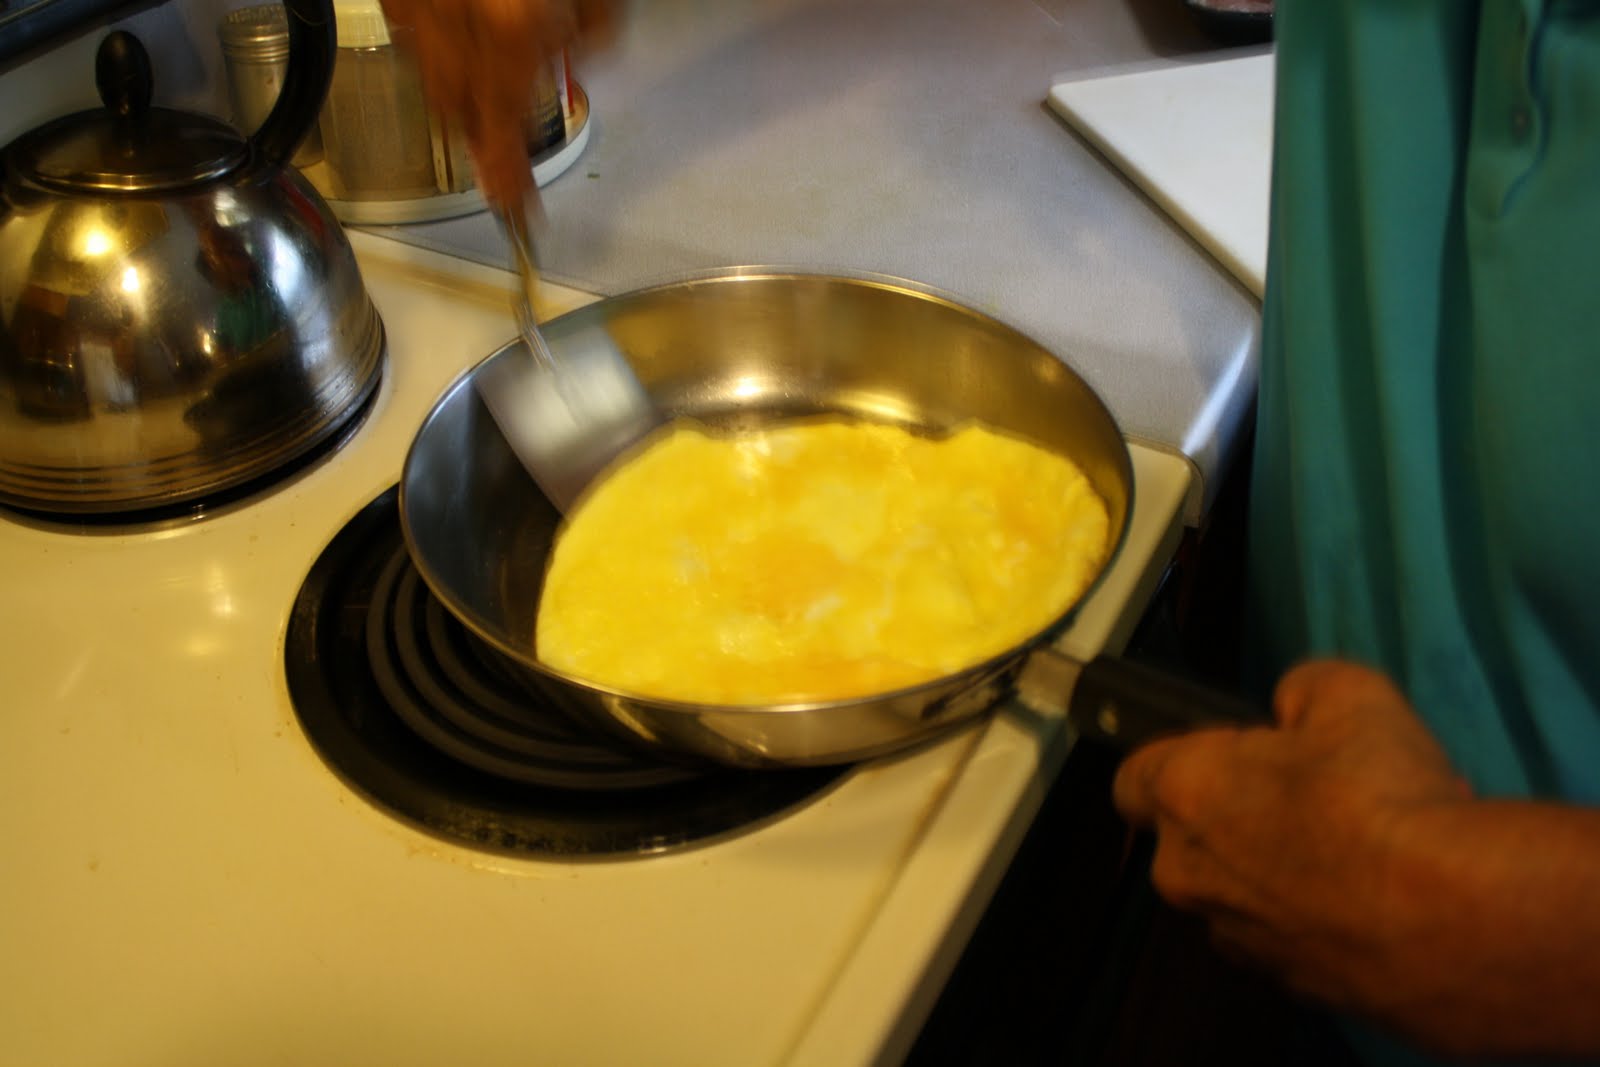

This is the tricky part! She used a metal spatula to flip it, but a silicone one might make it less likely to tear the egg.


Step 6
You will need: cooled kanpyo, shiitake mushroom and fish cake mixture, spinach and sushi rice
Separate and place your kanpyo, shiitake mushrooms and fish cake into long pieces on plates, in order to make it easier to put into your sushi rolls.
Grab all of your sushi ingredients and place onto a large, cleared out place (a counter or table), making sure everything is within arms reach (try not to get too excited at this point, but yes we are about to rolls some sushi!).


Step 7: ROLL THAT SUSHI!
Place your bamboo sushi-rolling mat on the counter and on it place 1 sheet of nori and a flattened layer of sushi rice (about a 5"x7" rectangle - see picture below). Next, you want to add strips of egg, spinach, kanpyo, fish cake and shiitake mushrooms.
After placing all your ingredients on the rice, it's time to roll!
JustHungry.com explains very nicely how to do this, but here is a video to help you out as well (the actual rolling demonstration begins at 1:40):

You don't have to cover your bamboo mat with plastic wrap (as in the video) because I didn't have a problem with the nori sticking to the bamboo mat.

After you roll up your sushi, be sure to give it a good squeeze all the way up and down your rolled-up mat.
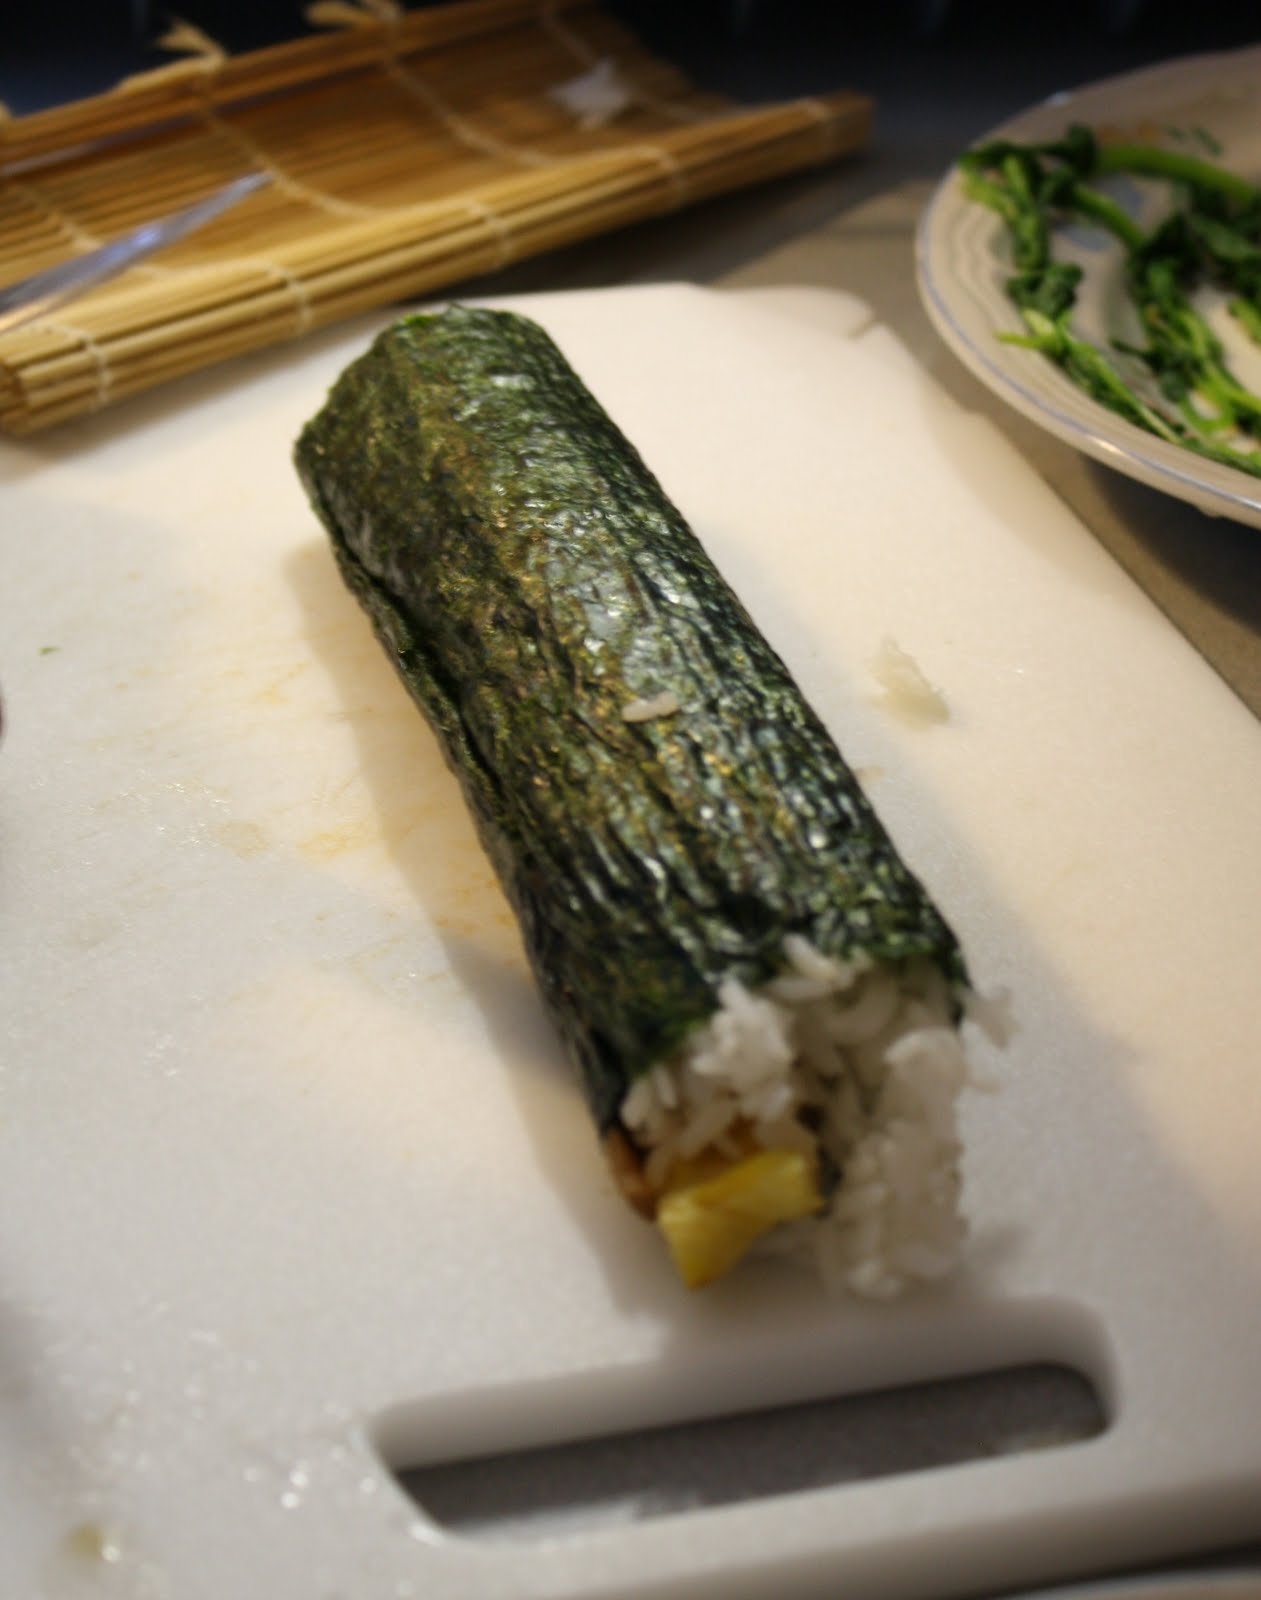
And...VOILA! You have a sushi roll! Our first one didn't turn out too pretty. The sushi filling should be in the middle of the roll but as you've probably already seen, that's not exactly easy to do. A good tip is to make sure your mat extends over the filling in the initial part of rolling. This will ensure that the filling ends up in the middle of the roll and not off the the side (as pictured above).

Step 8
Slice it up and enjoy!

YUM! =D
I hope you enjoyed this tutorial. If you have any questions, feel free to ask away as this is my first cooking tutorial.
No comments:
Post a Comment
I welcome any and all comments, but please be polite to myself and others!